
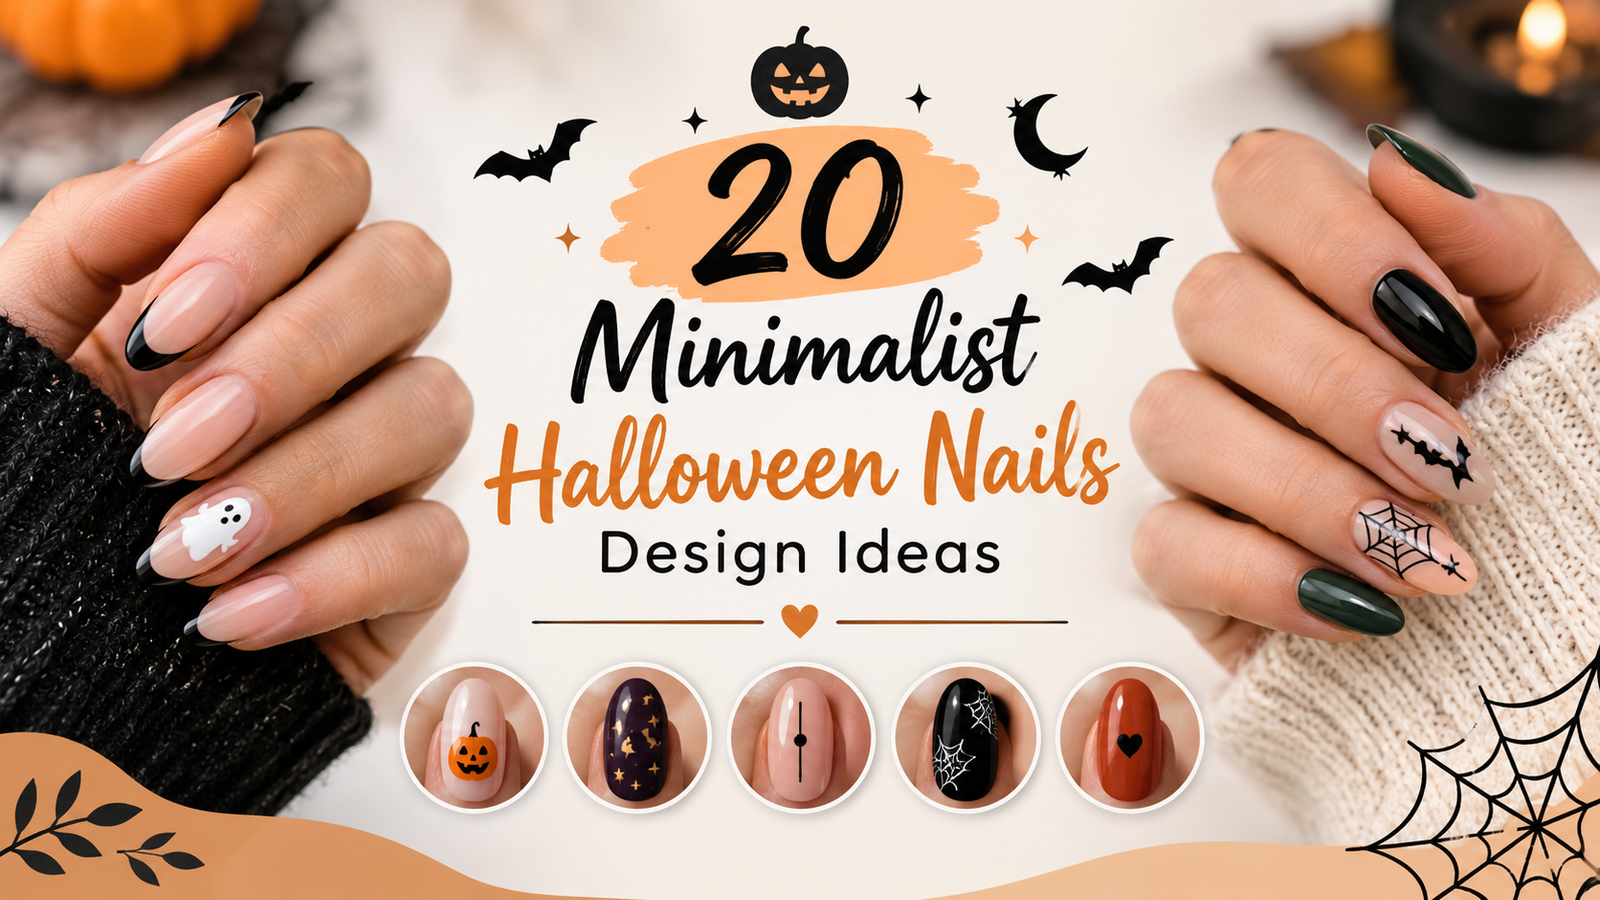
🎃 20 Minimalist Halloween Nails Design Ideas
By Sakib Mia
Halloween nails do not have to be loud, messy, or full of tiny details. Sometimes one small ghost, one thin black line, or one quiet moon is all you need to feel ready for a spooky season.
That is what minimalist Halloween nails are about. They use clean shapes, soft colors, and a lot of empty space. They look neat, they are easy to wear every day, and most of them are simple enough to do at home.
In this guide, you will find 20 simple Halloween nail ideas. Some are great for beginners. Some are better for the office. Some are cute, some are elegant, and some are a little witchy. Pick the one that fits your style and save your favorites.
What Makes a Halloween Nail Design “Minimalist”?
A minimalist design keeps things simple. Here is what that usually means:
- One main detail. One ghost, one pumpkin, one web, or one line.
- Calm colors. Black, white, nude, deep orange, dark green, and soft purple.
- Lots of space. Plain nails around the design make it feel clean and modern.
- Easy shapes. Dots, lines, and small icons are easier than big scenes.
If you can draw a dot and a straight line, you can make most of the designs below.
Quick Tools You Need Before You Start
You do not need a big nail kit. These basics are enough:
- Base coat and top coat
- Two or three polish colors (black, white, and one soft shade)
- A toothpick or a thin nail art brush
- Cotton swabs and nail polish remover for small fixes
Tip: Let each coat dry fully before you add a design. This stops smudging and keeps lines sharp.
1. Minimalist Black French Tip Halloween Nails
A black French tip is one of the easiest ways to wear Halloween nails. Paint a thin black line across the tip of each nail on a clear or nude base. It looks like a normal manicure, but the dark tip gives it a spooky touch. These Halloween French tips work well for the office, school, or a party.
Quick tip: Use a thin brush and rest your hand on a table so your line stays straight.
🛍️ Recommended: Fine Nail Art Brush Set — Checkout
2. Simple Ghost Nail Art
Paint one small white ghost on a single accent nail and leave the other nails plain. Draw a rounded top, a wavy bottom, and two tiny black dots for eyes. If you like cute ghost nails without too much work, this is the perfect place to start.
Quick tip: Use a toothpick dipped in black polish to make the eyes.
🛍️ Recommended: Halloween Nail Art Stickers — Checkout
3. Tiny Pumpkin Accent Nails
For a soft fall look, add one small orange pumpkin on a nude or cream base. A little green stem on top makes it feel complete. It says “Halloween” without shouting it, so it also works well all through October.
Quick tip: Try a burnt orange instead of bright orange for a calmer look.
4. Subtle Spider Web Nails
A full spider web can look busy. Instead, draw a few thin lines in one corner of the nail, then connect them with small curved lines. The result is delicate and elegant Halloween nails that still feel spooky.
Quick tip: Use black on a pale base, or white on a black base for a stronger contrast.
5. Negative Space Halloween Nails
Negative space means leaving part of the nail bare. You can paint a black half moon at the base, a small triangle, or a single curved line. The empty areas make the design look modern and light.
Quick tip: Use a thin strip of tape or small stickers to keep the shape clean.
6. Short Halloween Nails for Beginners
Short nails are perfect for simple designs. Choose one color, like black or deep plum, and add one dot or one tiny line on the ring finger. These simple Halloween nails are quick, tidy, and hard to mess up.
Quick tip: Keep your nails filed in a soft square or round shape so the design looks neat.
7. Neutral and Nude Halloween Nails
Not a fan of dark colors? Start with a sheer nude or milky beige base and add one tiny black detail, like a star, a dot, or a thin line. It is a gentle way to join Halloween without changing your everyday style.
Quick tip: Pick a nude shade that is close to your natural nail color for a soft, clean look.
8. Burnt Orange Minimalist Nails
Burnt orange sits between autumn and Halloween. A full set in this color feels warm and cozy. Add a thin black line or a small dot on one nail if you want a spooky hint.
Quick tip: Two thin coats look smoother than one thick coat.
9. Dainty Moon and Star Halloween Nails
Small crescent moons and tiny stars give a quiet, witchy feeling. Paint them in white, gold, or silver on a dark base such as black, navy, or deep purple. Keep the shapes small so the design stays light.
Quick tip: Place just one moon and two or three stars. Less is better here.
10. Single Black Dot Halloween Nails
This might be the easiest idea on the list. Add one small black dot to each nail on a nude, white, or soft gray base. You can place the dots in the same spot on every nail or switch them around for a playful look.
Quick tip: The tip of a toothpick makes a perfect small dot.
🛍️ Recommended: Nail Art Dotting Tool Set — Checkout
11. Matte Black Halloween Nails
A flat matte black finish looks bold and clean with no extra art. For a little contrast, make one nail glossy by skipping the matte top coat on that finger. It is a classic style that suits almost every outfit.
Quick tip: Apply the matte top coat in thin layers so it dries evenly.
12. Sheer Ombre Halloween Nails
Blend a soft smoky color, like gray or charcoal, from the tip down into a clear base. There are no sharp lines to worry about, which makes it a friendly idea for beginners. The faded look feels moody and quiet.
Quick tip: Dab the polish on with a small makeup sponge for a smooth fade.
13. Simple Skeleton Hand Nail Art
Paint your nails black, then draw thin white lines to make bones, like the lines of a skeleton hand. You do not have to be perfect. Even a few simple lines on two or three nails will give the look.
Quick tip: A fine nail art brush works better than a toothpick for long lines.
14. Chrome Ghost Halloween Nails
Chrome powder gives nails a shiny mirror finish. Add a small white ghost on top, and you have a modern take on cute ghost nails. The shine makes the simple design feel special.
Quick tip: Apply chrome powder over a no-wipe gel top coat, then seal it with another top coat.
🛍️ Recommended: Chrome Nail Powder Set — Checkout
15. Halloween Nails for Work and Office
Want a look that is safe for the workplace? Choose a nude base and add just one small detail, like a tiny dot, a thin line, or a very small moon. Others will only see the Halloween touch if they look closely.
Quick tip: Stay with soft colors and short nails for the most professional look.
16. Easy DIY Halloween Nails with a Toothpick
You do not need special tools to do nail art at home. A toothpick is enough for dots, webs, tiny ghosts, and thin lines. Pour a small drop of polish on a piece of foil and dip the toothpick in it for control.
Quick tip: Wipe the toothpick tip after each dot so the shapes stay even.
17. Minimalist Halloween Nails on Almond Shape
Almond nails have a soft, pointed tip that makes fingers look longer. Simple designs, like one thin line or one small moon, look very graceful in this shape. Because the shape is already pretty, you do not need much art.
Quick tip: Place the design toward the center of the nail so it follows the curve.
18. Dark Green Witchy Minimalist Nails
Deep forest green is a great alternative to black and orange. It feels moody and a little magical. Add a tiny gold star or a thin gold line to make it feel polished.
Quick tip: Gold or silver detail polish makes dark green stand out.
🛍️ Recommended: Metallic Gold & Silver Nail Art Polish — Checkout
19. Subtle Bat Silhouette Nails
Paint one small black bat on a pale background, such as soft gray, cream, or light lavender. A bat is just a small body with two curved wings, so it is easier than it looks. One bat on one nail is enough.
Quick tip: Draw the wings first, then add the body in the middle.
20. Purple Minimalist Halloween Nails
Muted purple gives a softer spooky feeling than black. Try a dusty plum or lilac shade, then add a tiny white moon, star, or dot. It is a calm choice for anyone who wants Halloween colors with a gentle mood.
Quick tip: Pair purple with silver detail for a cool, modern finish.
How to Make Your Halloween Nails Last Longer
- Always use a base coat and a top coat.
- Seal the free edge by running the brush along the tip of the nail.
- Wear gloves when washing dishes or cleaning.
- Add a thin layer of top coat every two or three days to keep the shine.
Frequently Asked Questions
What are minimalist Halloween nails? They are simple Halloween nail designs that use one small detail, calm colors, and a lot of clean space instead of busy art.
Can I do these designs at home? Yes. Most of these ideas only need nail polish and a toothpick or a thin brush.
What colors work best for minimalist Halloween nails? Black, white, nude, burnt orange, dark green, and muted purple are all popular and easy to wear.
Are these nails okay for work? Yes. Ideas like the nude base with one small dot or the thin black French tip are subtle enough for most offices.
Do these designs work on short nails? Yes. In fact, short nails are great for simple designs because the small shapes stay neat and easy to see.
Final Thoughts
Minimalist Halloween nails prove that spooky does not have to mean complicated. A tiny ghost, a thin black tip, or a soft purple shade can be enough to bring Halloween to your hands.
Choose one or two ideas from this list, try them at home, and have fun with it. Do not forget to save this post for the next time you need a quick Halloween manicure idea. 🎃